MicroControllerArduinoArduino StartingArduino SetupArduino BlinkArduino Digital PinArduino Digital I/O |
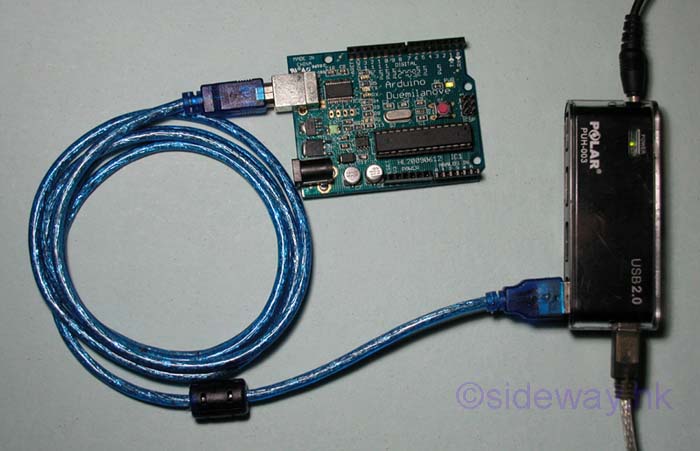
Arduino SetupThe setup procedure consists of three parts, i.e. Arduino board connection, USB drivers installation and Arduino IDE configuration. Arduino board connectionThe USB connector on the Arduino Duemilanve allows it to communicate with the computer. The FT232RL chip on the board enables the TTL serial communication over USB. The 5v power line of USB connector also provides the 5v power of the board and no external power is needed. Besides the Arduino board can also connect to computer through a USB bus-powered or self-powered hub.
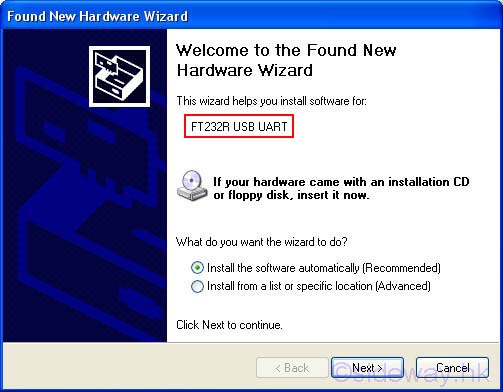
USB drivers installationWhen Arduino board is connected to computer for first time, window will initiate a driver installation process. Since Window XP does not have the built-in driver for the FT232RL chip, the Found New Hardware Wizard will open for the FT232R USB UART.
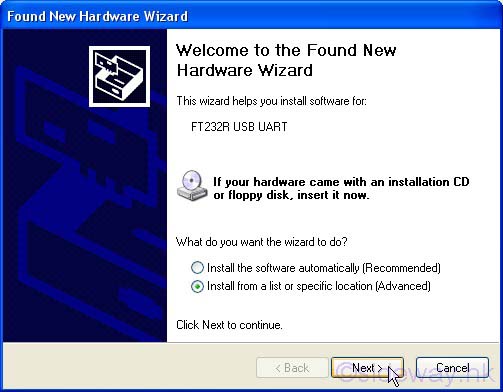
Select "Install from a list or specified location (Advanced)" option and click next.
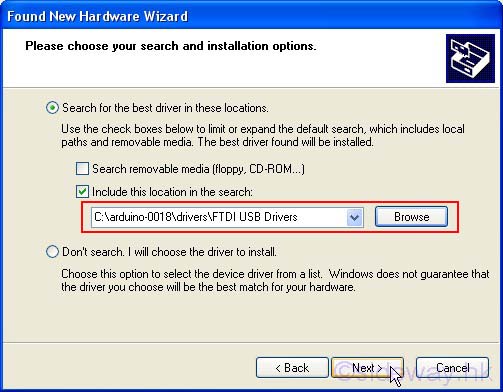
Select "Include this location in the search:" option and Browese to the drivers/FTDI USB Drivers folder under the Arduino folder. Click OK to confirm and then click Next.
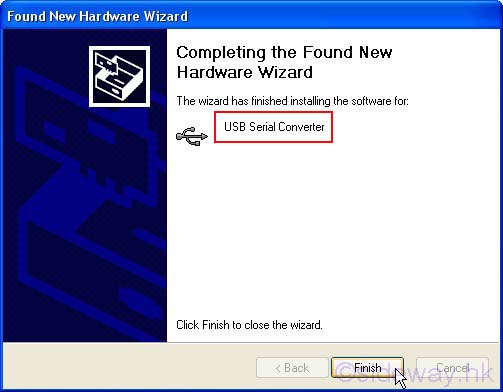
The wizard will search and install the driver automatically. And the wizard will completed the software installation of for USB Serial Converter. Click finish to continue.
The new installed USB Serial Converter can be found from the Computer Management/Device Manager under Universal Serial Bus controllers.
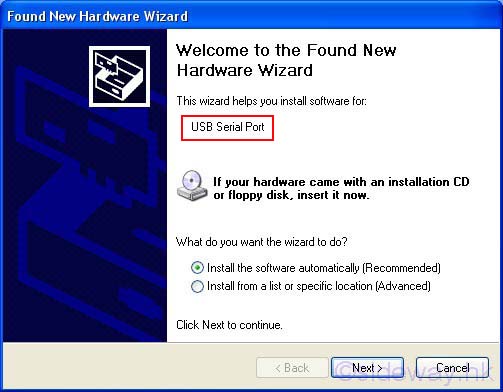
The Found New Hardware Wizard will open again for the USB Serial Port.
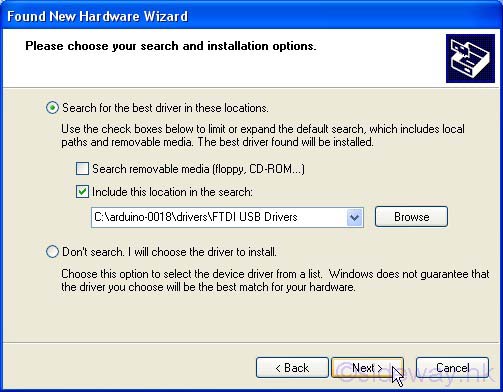
Select "Install from a list or specified location (Advanced)" option and click next as before.
Since the "Include this location in the search:" option and the drivers folder is same as before, click Next to continue.
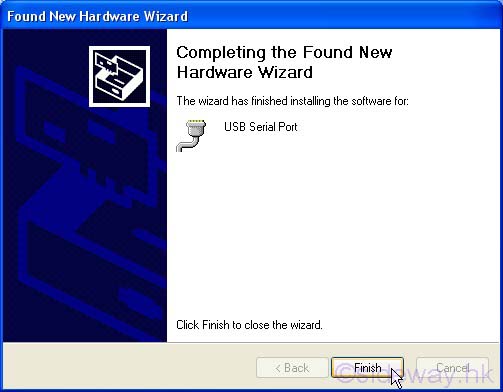
The wizard will search and install the driver automatically. And the wizard will completed the software installation of for USB Serial Port. Click finish to complete the hardware installation.
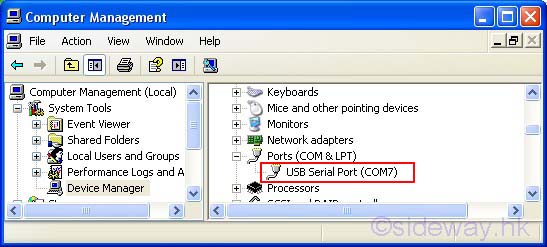
The new installed USB Serial Port can be found from the Computer Management/Device Manager under Ports (COM & LPT). In this case, the port number, COM 7, is the installed communication port for the Ardunio board.
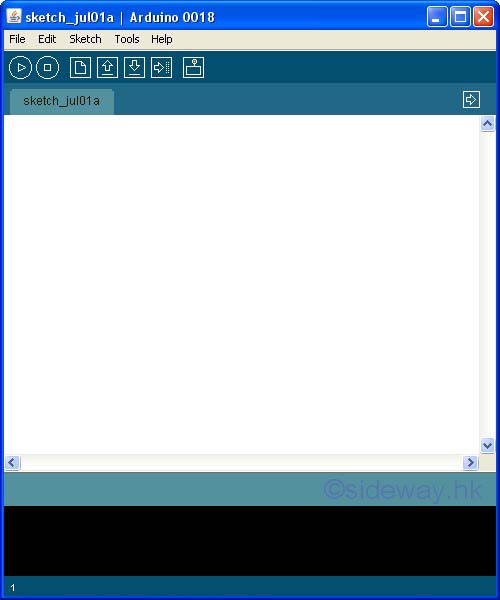
Arduino IDE configurationThe Arduino IDE can be launch by double-click the Arduino.exe under the Arduino folder.
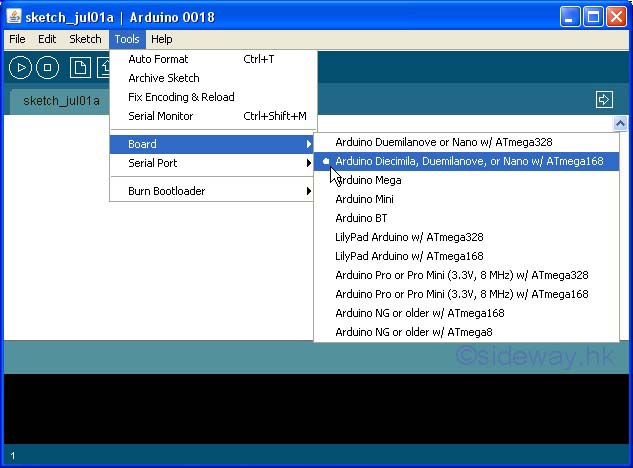
Before using the Arduine IDE, it should be configured correctly. First, select the Arduino board type connected to the computer from the list under the menu Tools/Board
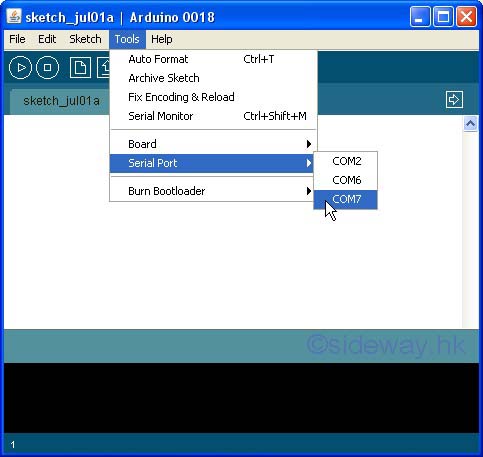
Second, select the serial communication port from the list under menu Tools/Serial Port. The serial port number should be the COM port number of Arduino board assigned by the computer. The Port number can be verified by checking the disappeared entry after disconnecting the board from the computer or the added entry after connecting the board to the computer.
Last Modified on 7/1/2010 |