A clean installation of Windows 8.1 is the installation of a new copy of Window
8.1 from scrach by erasing whatever is in the partition. It is referred to as a
"custom install"
- A clean installation of Window 8.1 is always started from booting a Windows 8.1
installation media in the computer to be installed. A Windows 8.1 can be a
bootable DVD disc or a bootable flash drive. An optical drive must be connected
to the computer in order to boot up the computer by the DVD disc. Otherwise a
USB dervice with a copy of properly copied Windows 8.1 installation files must
be used to boot up the computer by pluging into a USB port of the computer.
Setup the BIOS of the computer such that the computer can boot from the correct
installation device.
Insert the correct Windows 8.1 installation media to the computer device and
power on the computer. After the standard BIOS boot up process, the Windows 8.1
splash screen will pop out to show that the Windows 8.1 setup process is
starting propertly.
The Windows 8.1 setup process loads setup files into memory first so that the
setup process can continue.
-
Before running the Windows 8.1 setup, the start-up program will ask the
preferences of the Windows 8.1 clean installation. The preferences include
"Language to install", "Time and currency format", and "Keyboard or input
method"
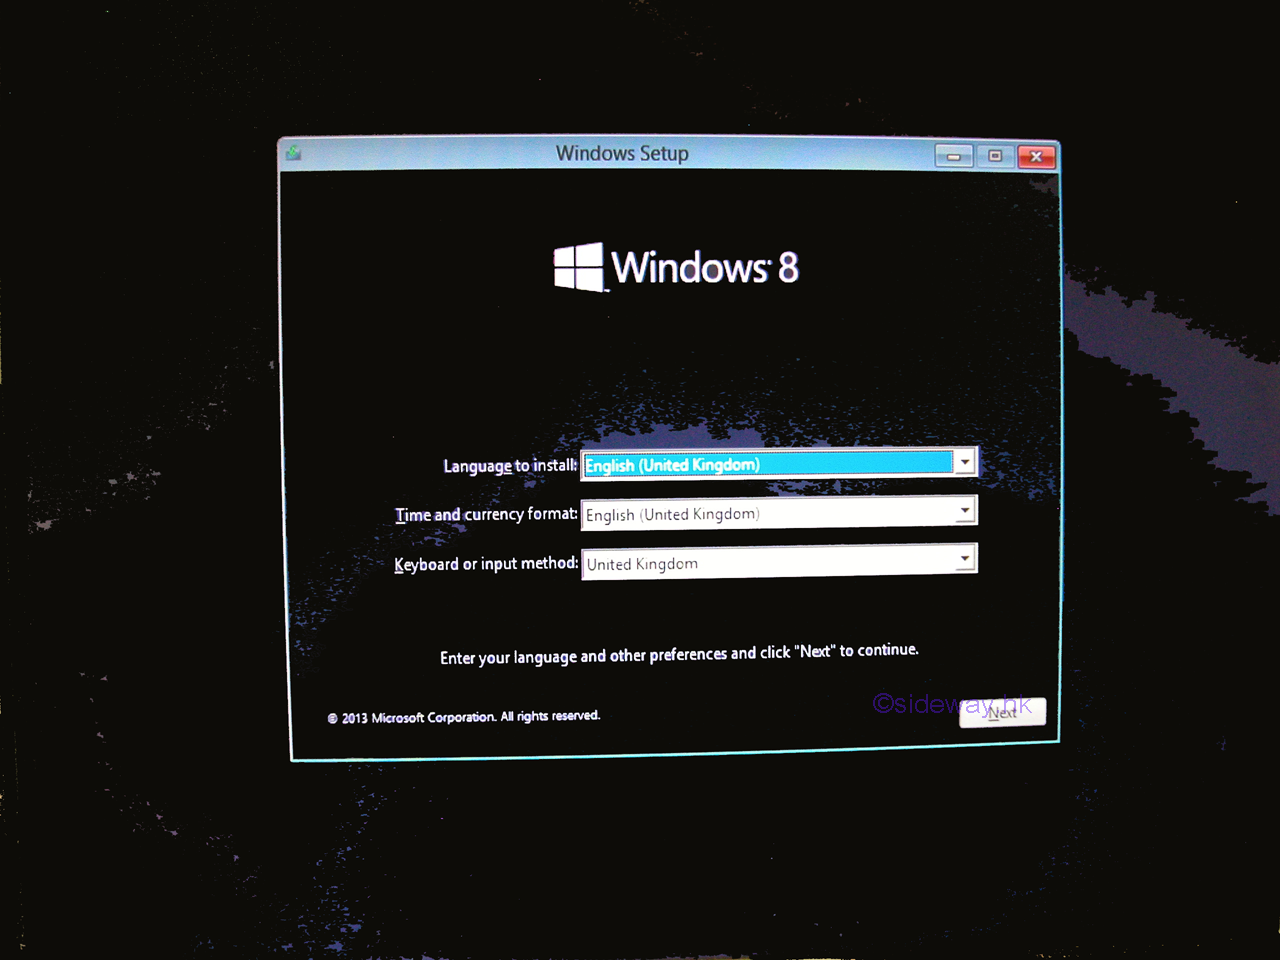
Select the right choice from the drop-down list accordingly, and click the
button "Next" to start the installation program.
-
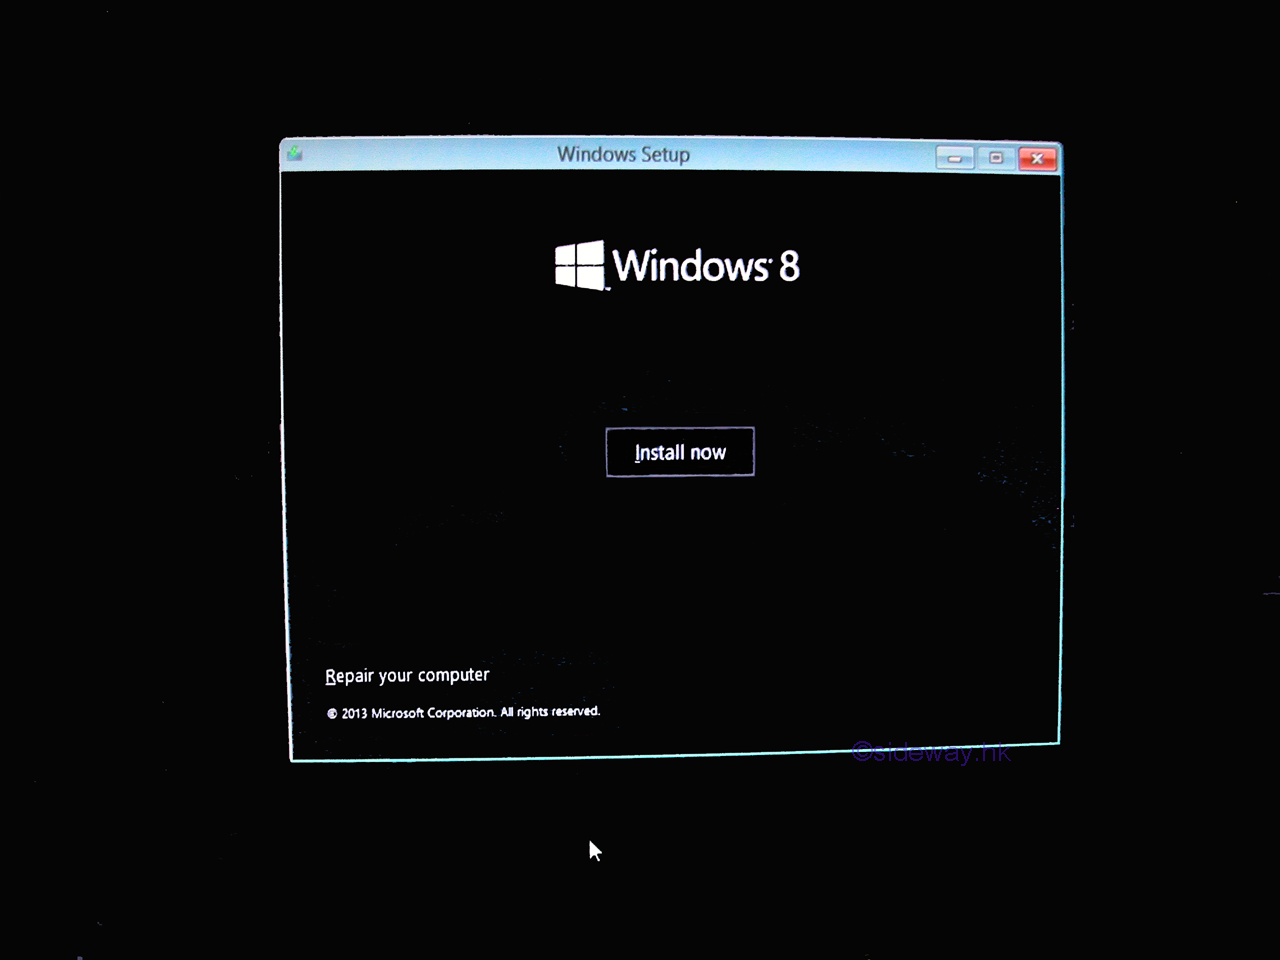
Click the button "Install now" to confirm and activate the Windows 8 installation
process to proceed.
-
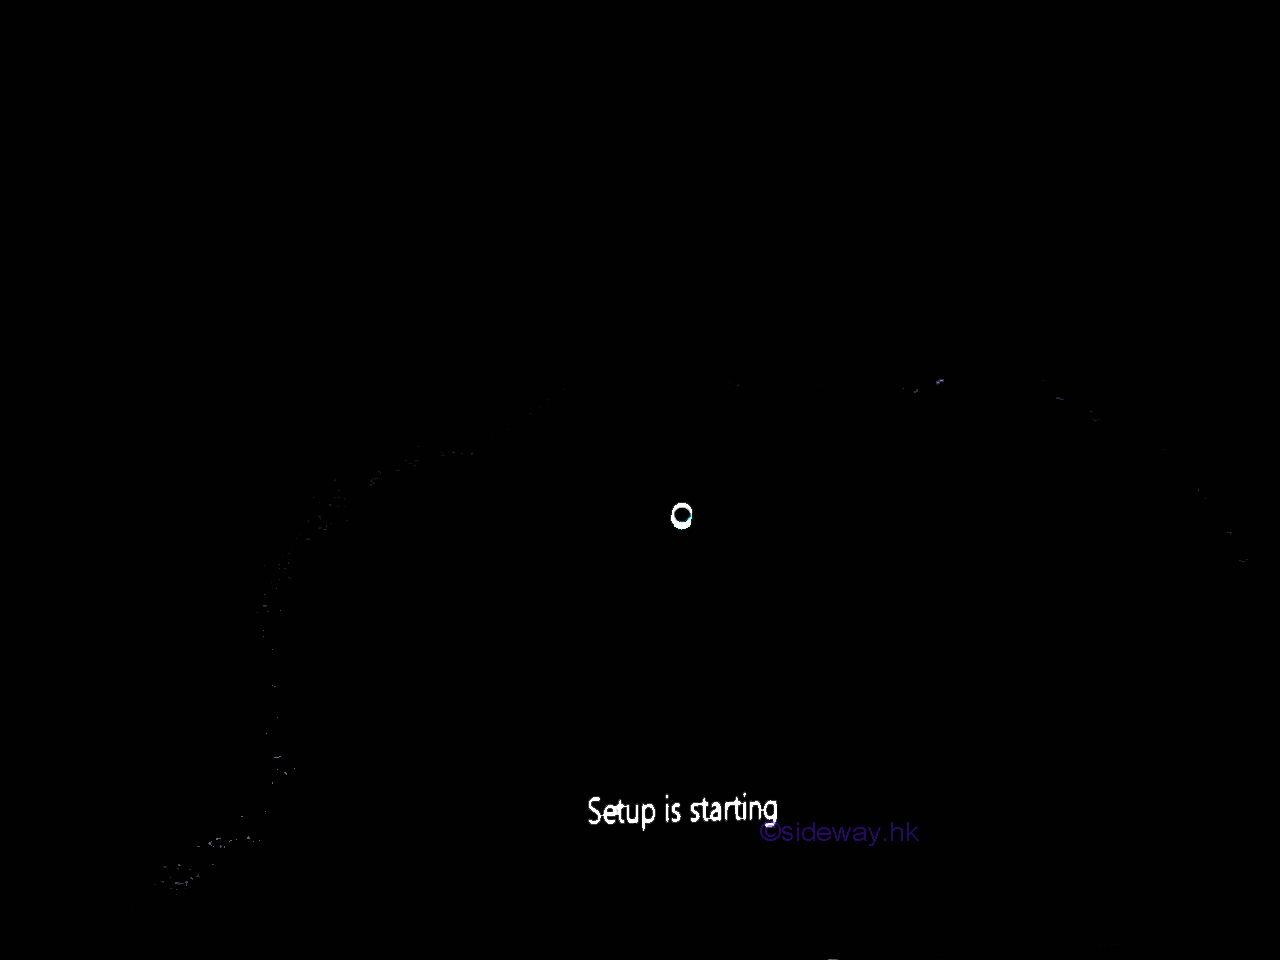
The Windows 8.1 setup process will start and run a starting process to collect
information before
running the actual installation process. A starting screen will pop out to show
that the Windows 8.1 setup process is starting. Wait for Windows 8.1 setup to
begin.
-
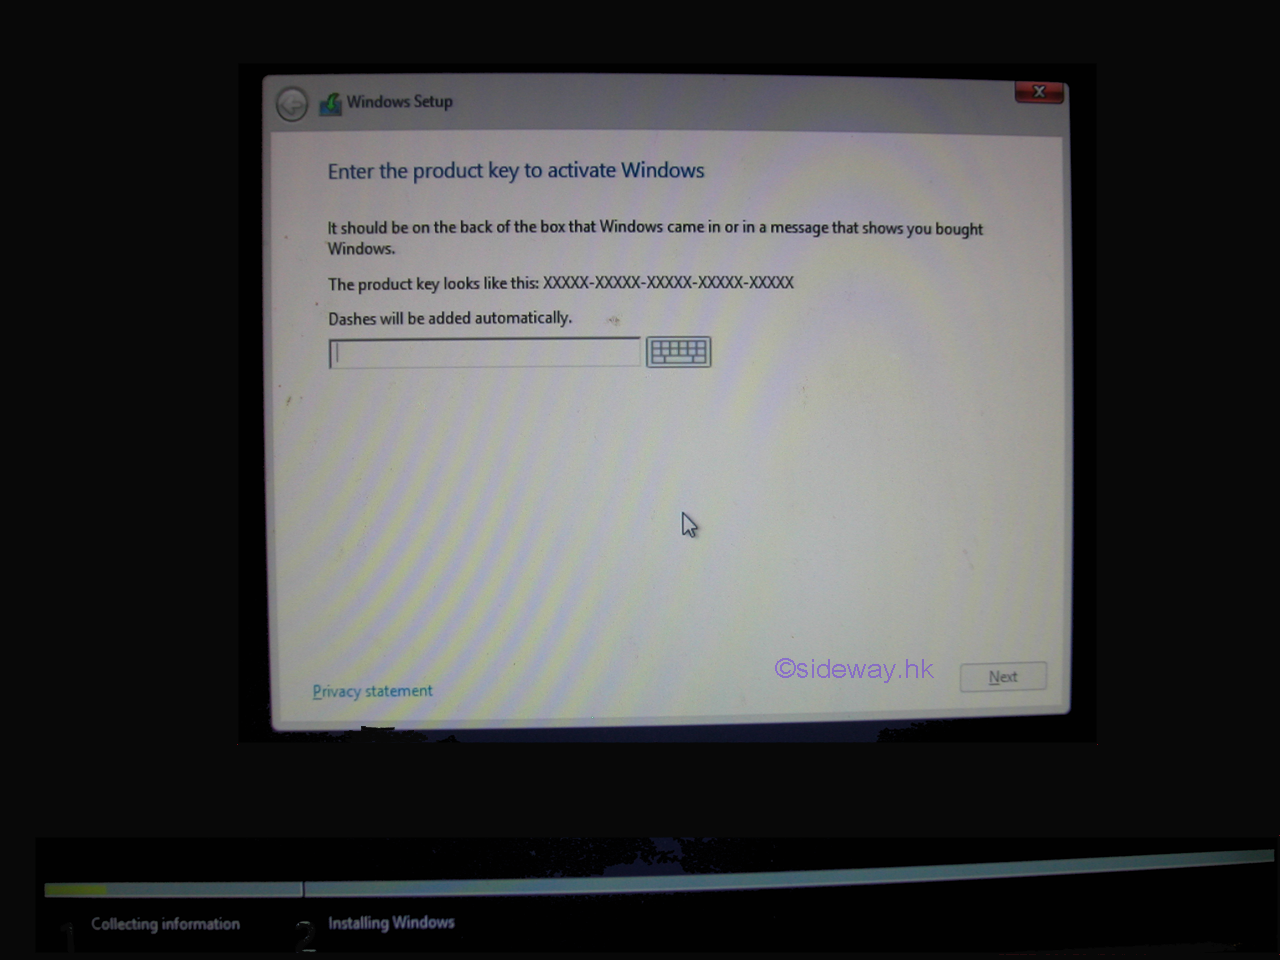
After running the starting process, the Windows 8.1 setup process will ask to
enter a product key for activating the Windows 8.1 before the installation
process can be continued. Unlike other versions of Windows, this step can be
skipped.
-
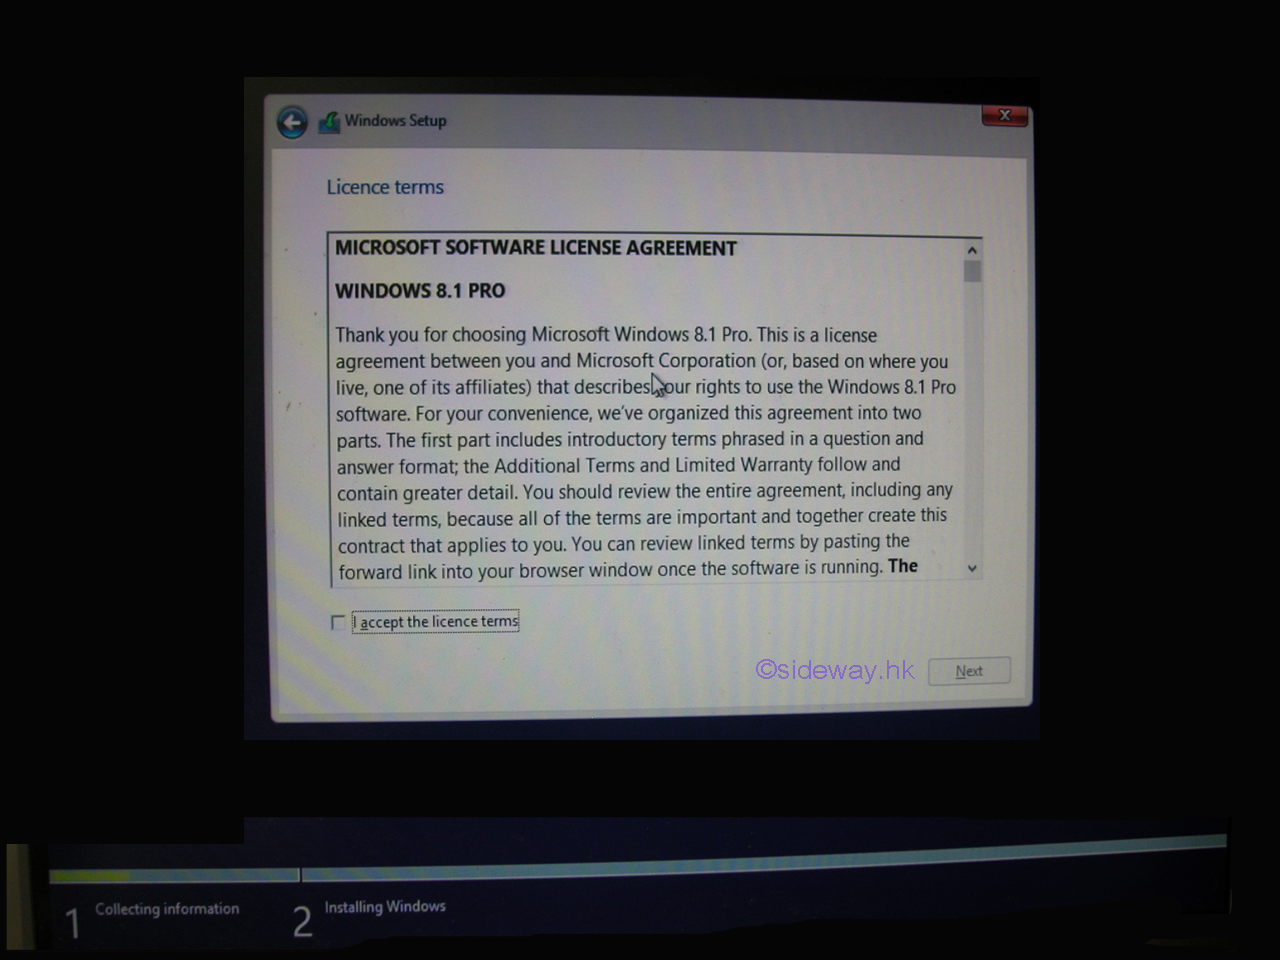
After entering the product key, a screen of the Microsoft Software License
Agreement page will pop up. Check the "I accept the license terms" box afte
reading through the agreement, and then click "Next" button to continue the
installation process.
-
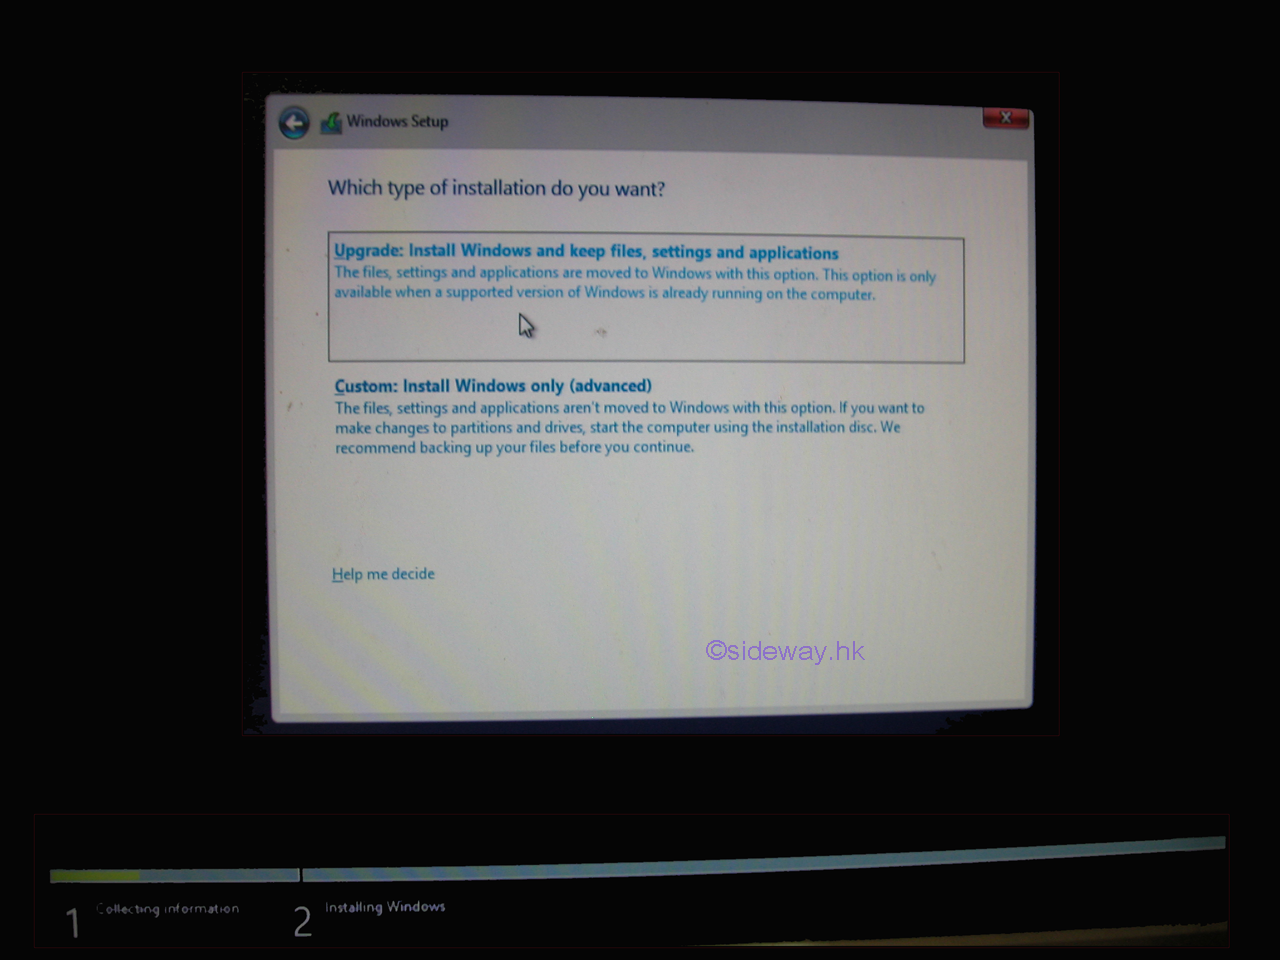
After accepting the Microsoft Software License Agreement, a screen of type of
installation selection will pop up. There are two types of installation, Upgrade
or Custom. For a clean installation, a custom installation with installing
Windows only is the choice. Click the "Custom: Install Windows only (advanced)"
hyperlink to continue the Windows setup.
-
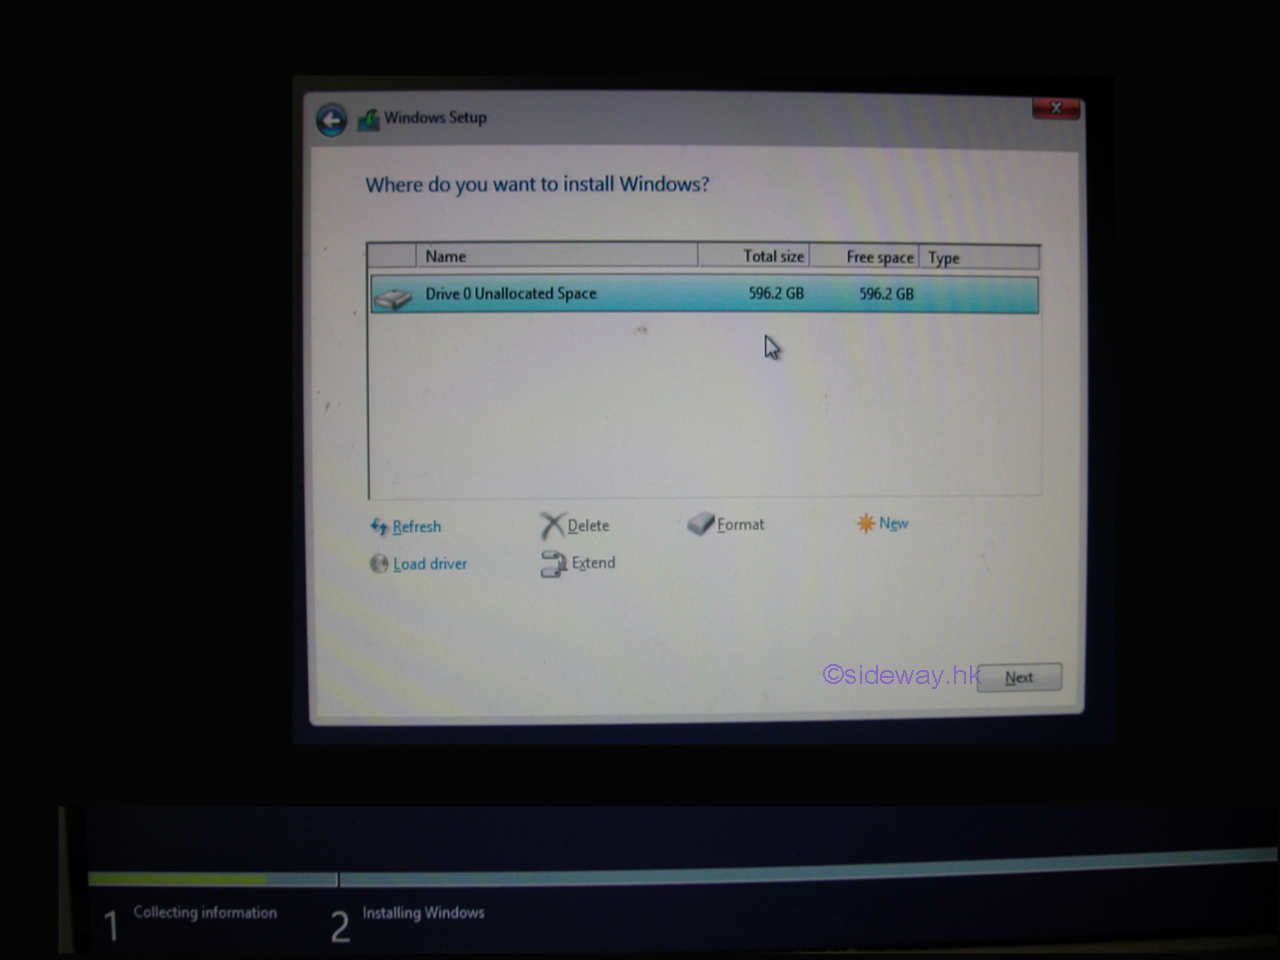
For a "Custom: Install Windows only (advanced)"
installation, a screen of where to install Windows will pop up. A list of all
the partitions that are available for installing Windows 8.1 are displayed. A
number of drive functions are provided for manipulating drives and partitions to
prepare the operating system installation partition. In fact, the options for
manually create a new partition, and format the install partition are not
necessary, as these are part of the Windows 8.1 setup process. For a new drive
with unallocated space, just select and highlight the appropriate unallocated
space to install Windows 8.1 onto, and then click the "Next" button to continue
the setup process.
For new versions of Windows 8.1 installation, an "Advanced Drive Options" option
is used to activate the drive functions and a small partition (350MB) may be
created automatically as a supporting partition labeled as System Reserved.
-
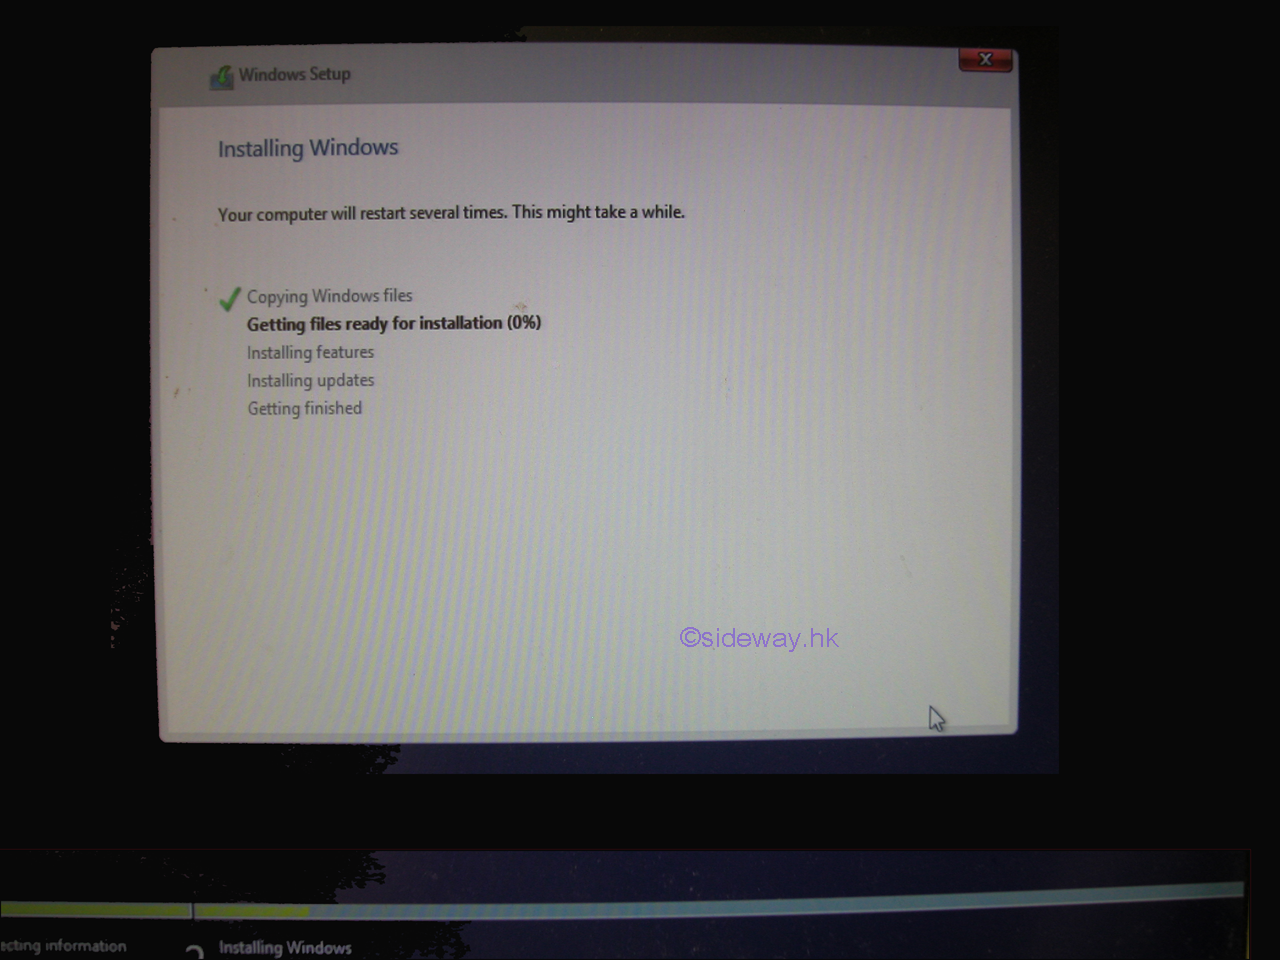
After selecting the partition. the Windows 8.1 installing process will start
automatically. Windows 8.1 setup will install Windows 8.1 onto the selected
partition step by step automatically. The computer will restart several times
during the installation. The installation process is much longer than the
initial setup.
-
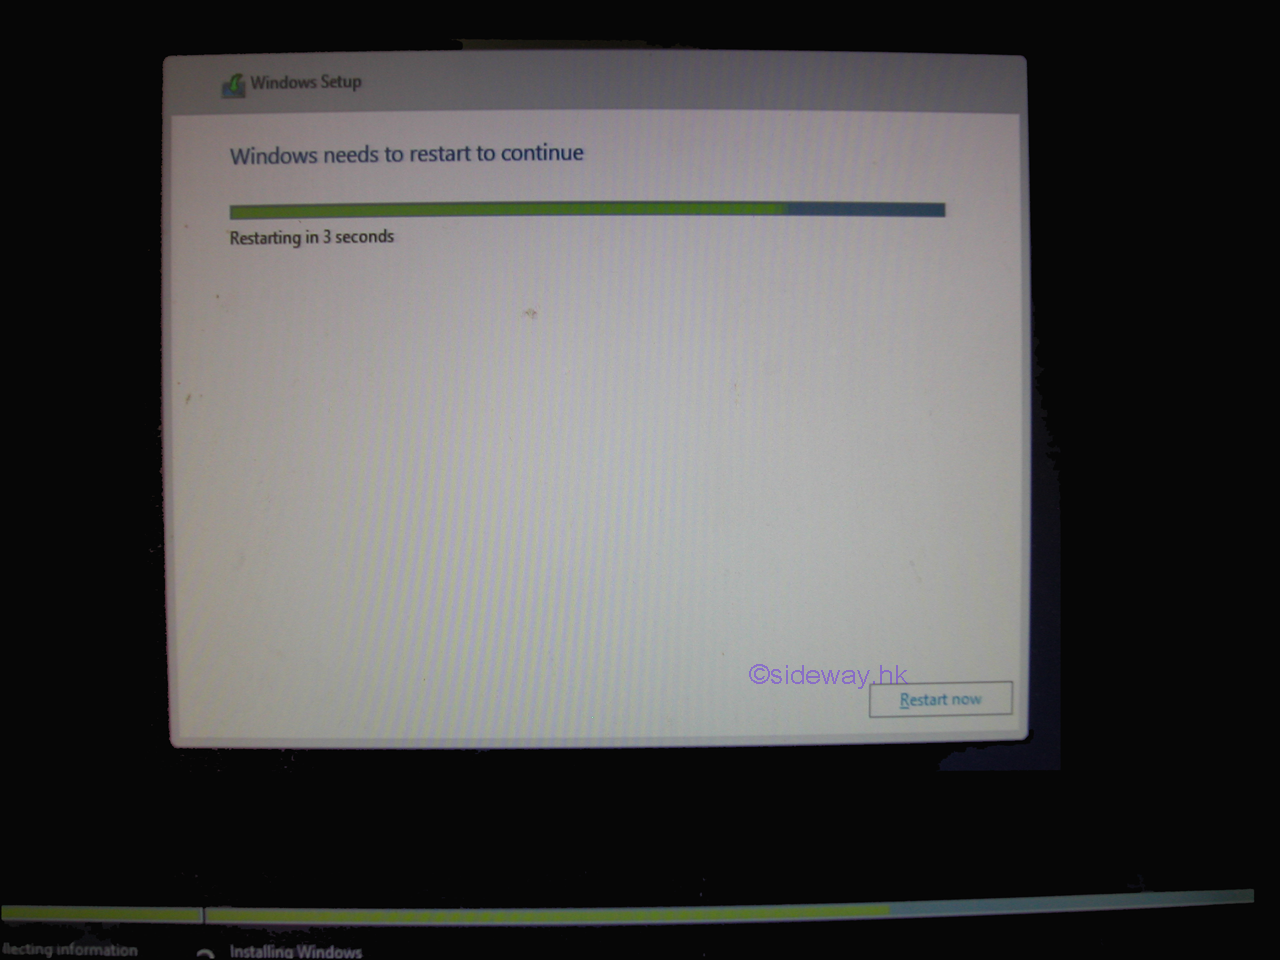
After Windows 8.1 setup completes copying and installing windows files to the
partition, the installed Windows 8.1 needs to restart to continue. Do not click
the "Restart now" button to force the restart manually because the computer
should boot from the installed partition. Remove the Windows 8.1 installation
media during the ten seconds waiting time.
-
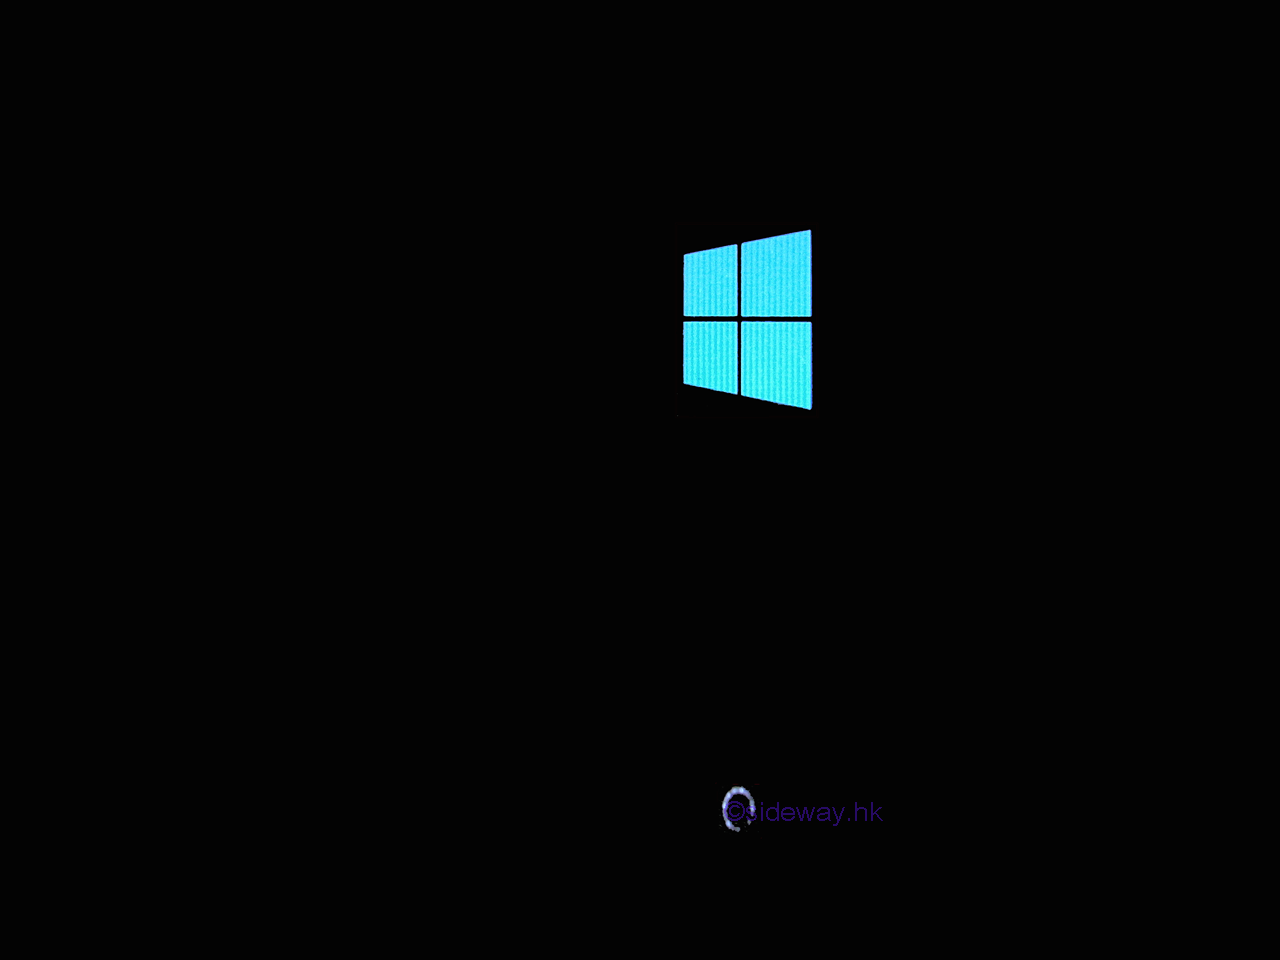
If the Windows 8.1 installation media is removed and the computer has only one
Windows 8.1 partition, the newly installed Window 8.1 will boot up
automatically. The Windows 8.1 splash screen will pop out again to show that
Windows 8.1 is starting properly. If there is no Windows 8.1 splash screen and
the computer has more than one partition, restart the computer and setup the
BIOS of the computer such that the computer can boot from the correct
installation device.
The installed Windows 8.1 can now continue the installing process.
-
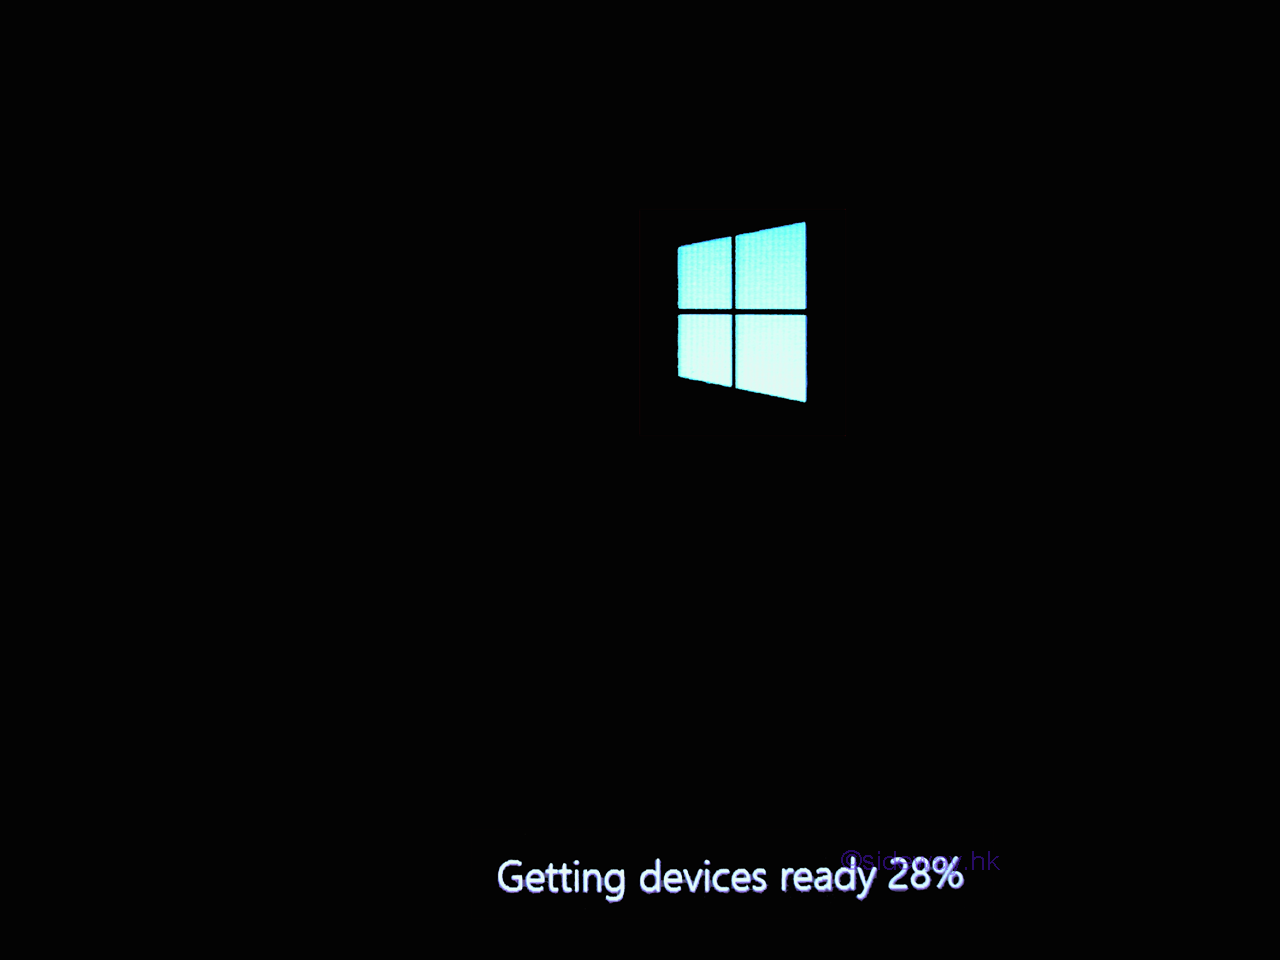
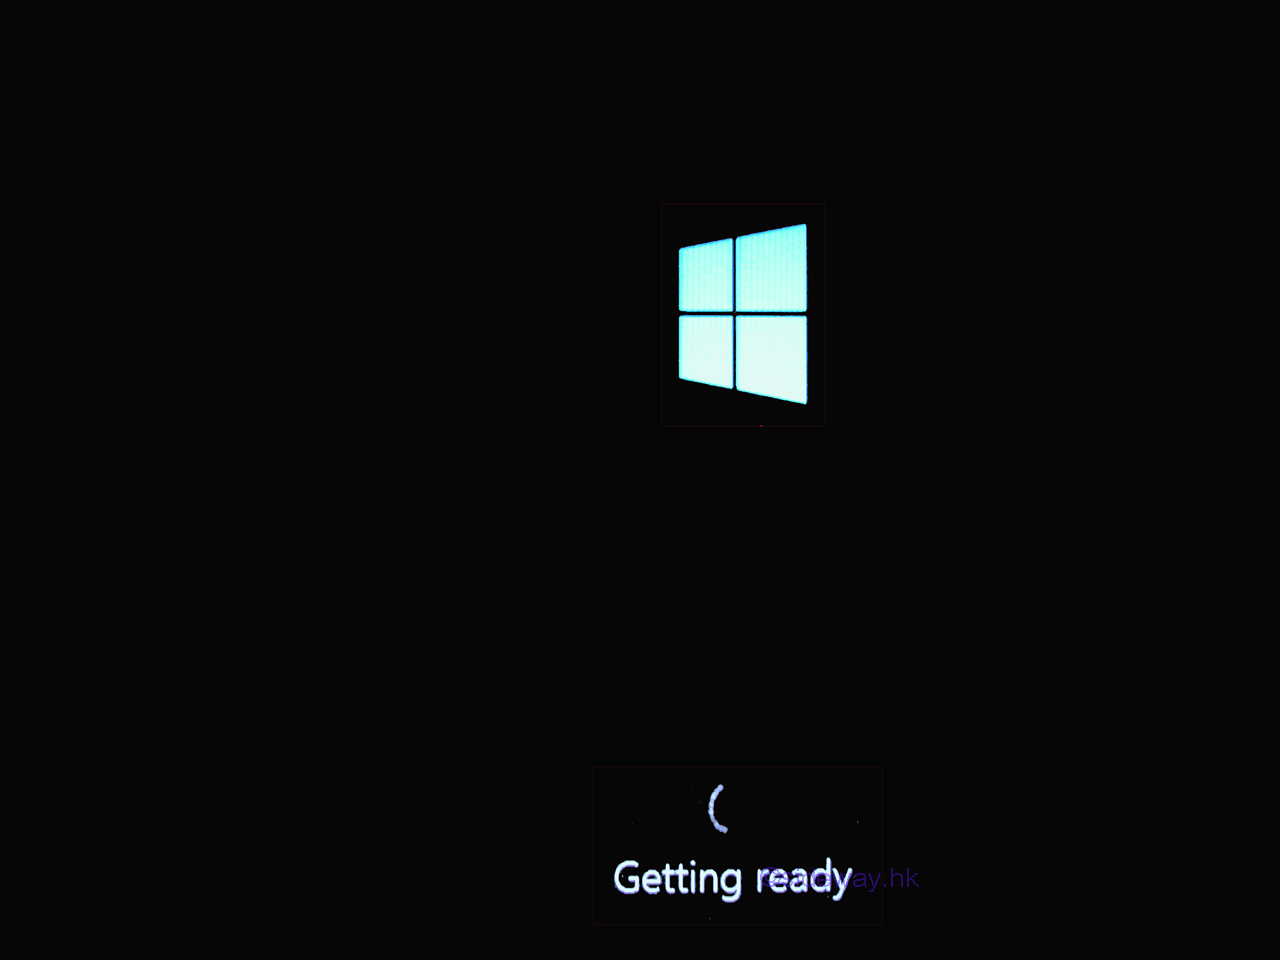
The installed Windows 8.1 continues the device installing process until the
getting devices ready is 100%
-
Afte the hardware setup, the installed Windows 8.1 continue to update and finish the installing until everything get ready.
-
Afte getting everything ready, the installed Windows 8.1 restarts the undated Windows 8.1 system automatically again.
-
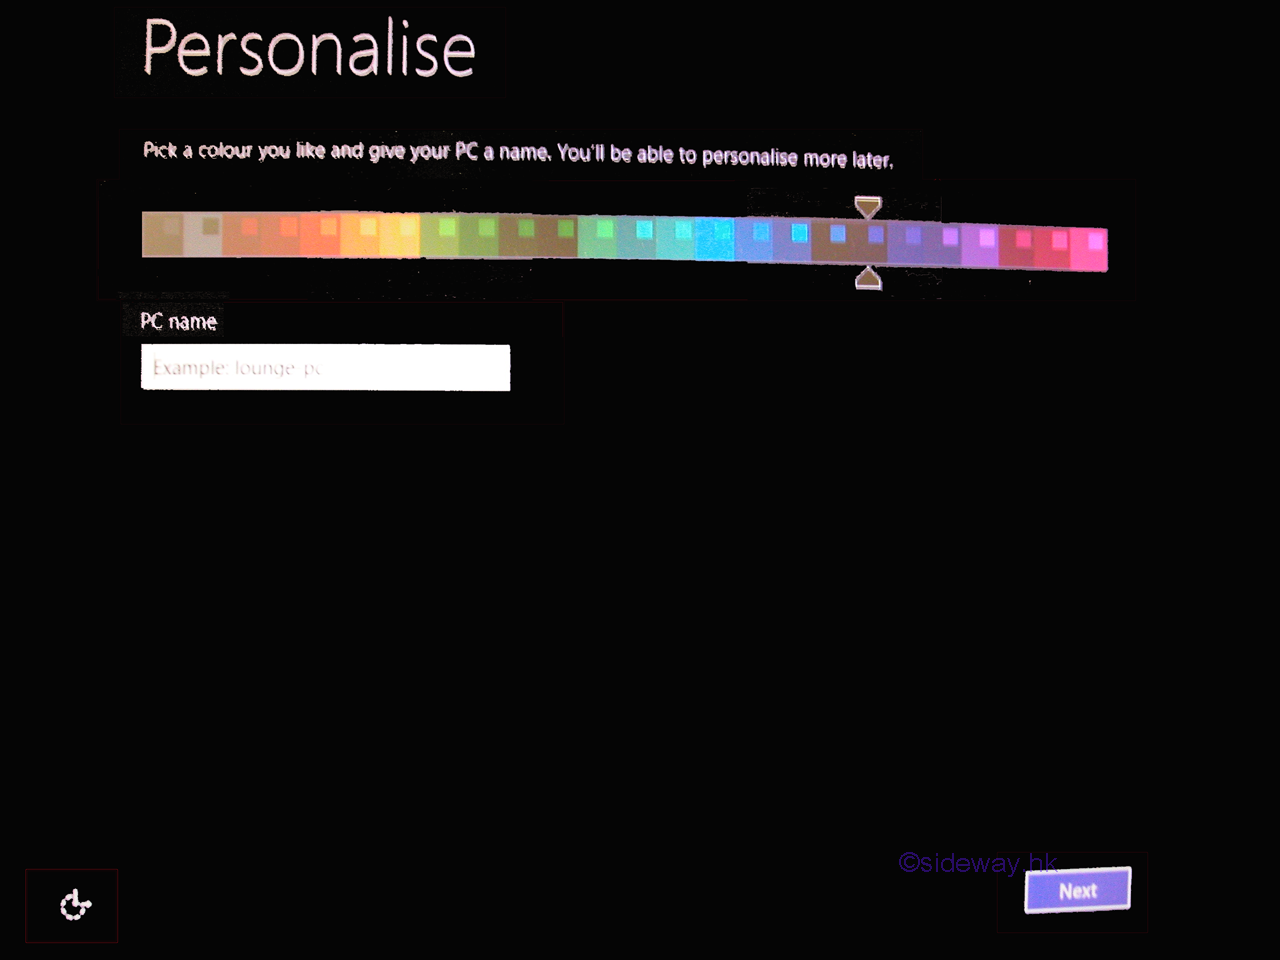
Afte Windows 8.1 restarts again, the installed Windows 8.1 begins the basics preference setup to customize Windows 8.1. There are four basic preferences, personalize, wireless, settings and sing in.
The first preference, personalize, is to customize the color theme of Windows 8.1 and the
name of the computer.
-
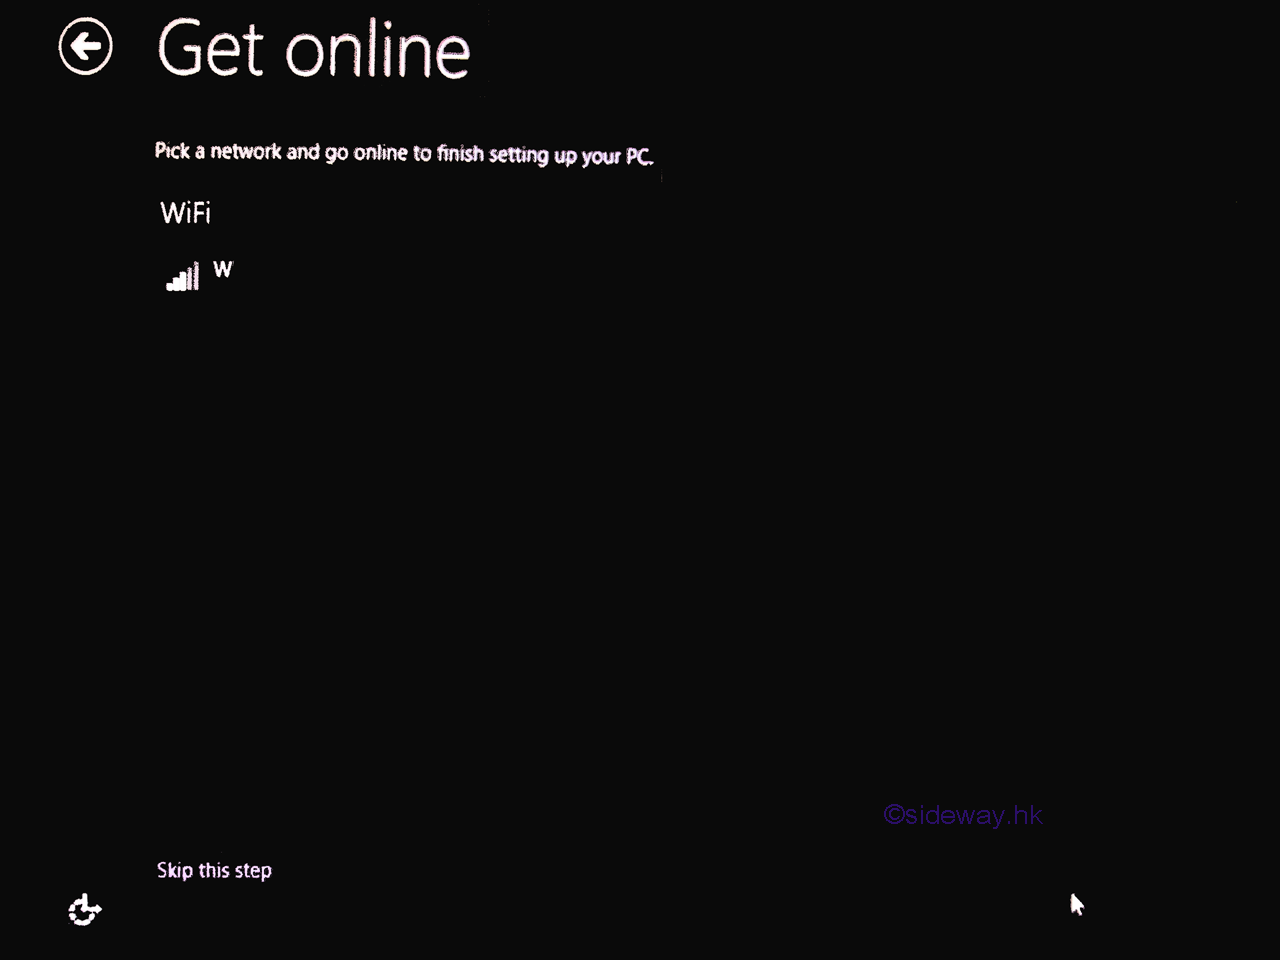
The second preference, wireless, customizes the wireless network of Windows 8.1 if
compatible wireless devices are available.
The wireless network of Windows 8.1
can be chosen from the list of available wireless networks or click the "skip this step" hyperlink
to setup the wireless network of Windows 8.1 later.
-
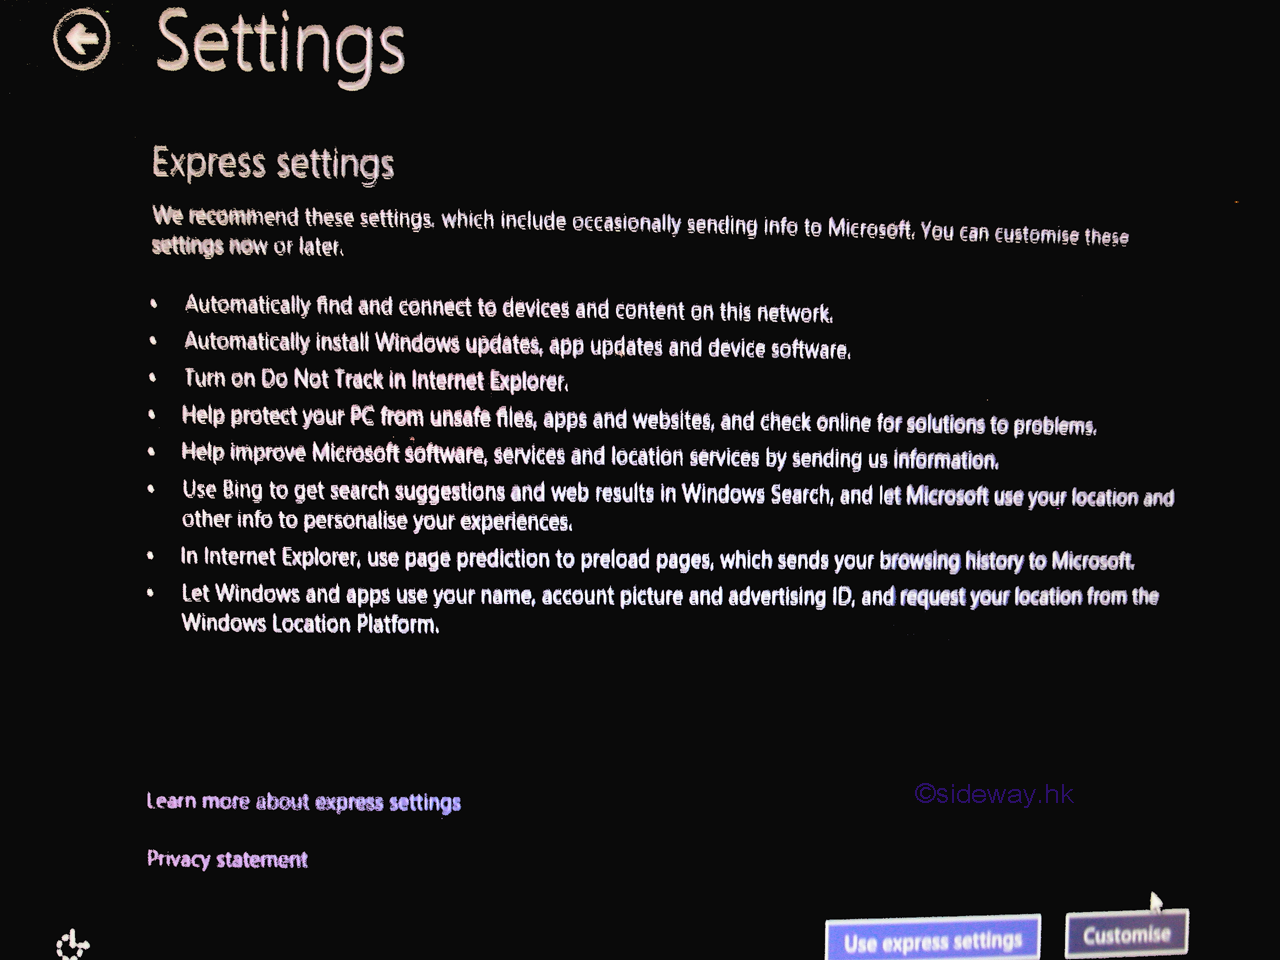
The third preference, settings, customizes the basic settings of Windows 8.1.
There are two options, "Use express settings" with default settings recommended
by Microsoft, or "Customize" with options selected by user.
Click "Customize" to customize the preference settings
-
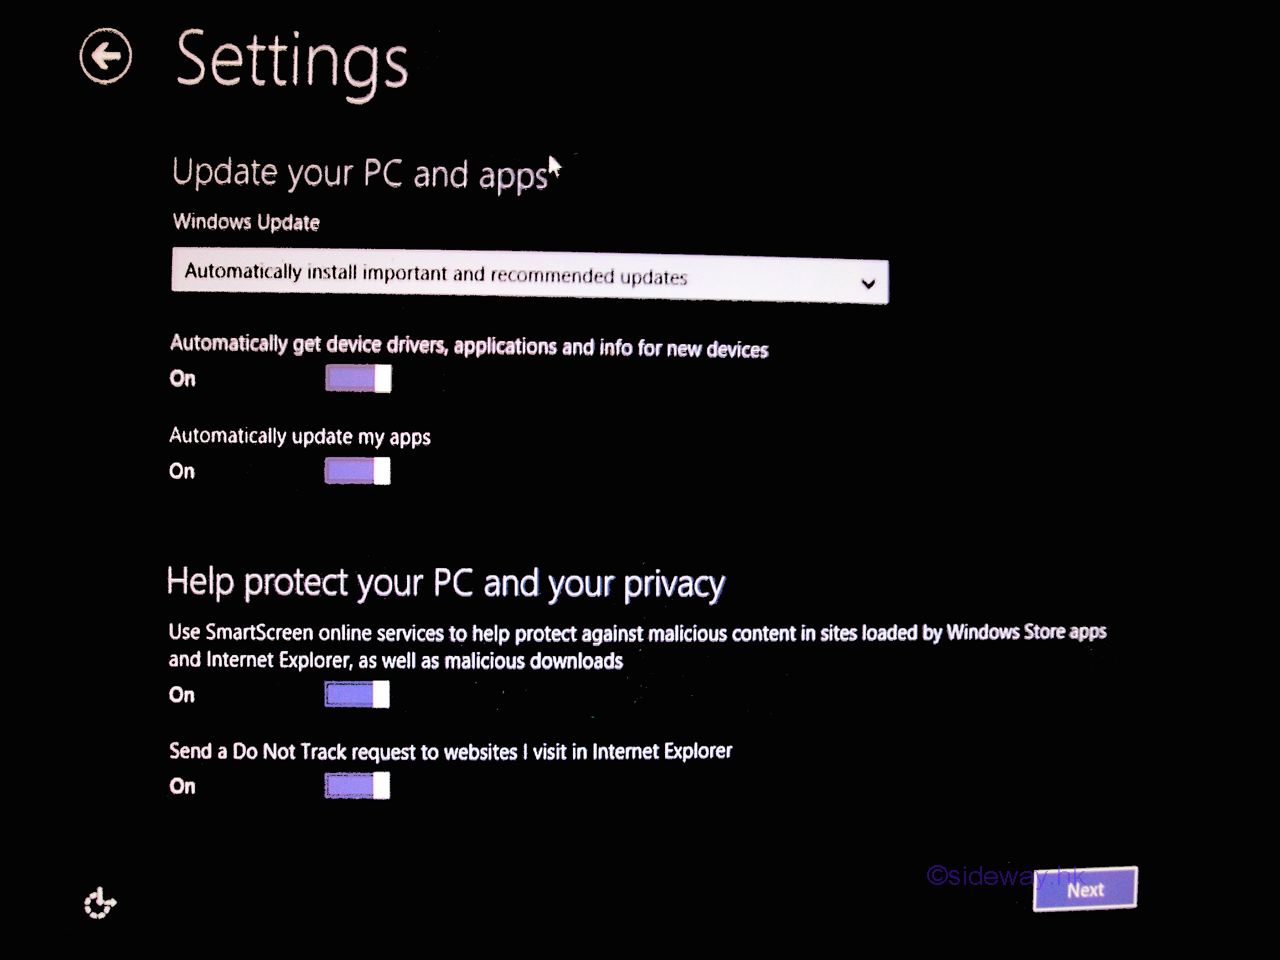
The first page of Windows 8.1 basic settings. After setting, click "Next" button to continue to the second page.
-
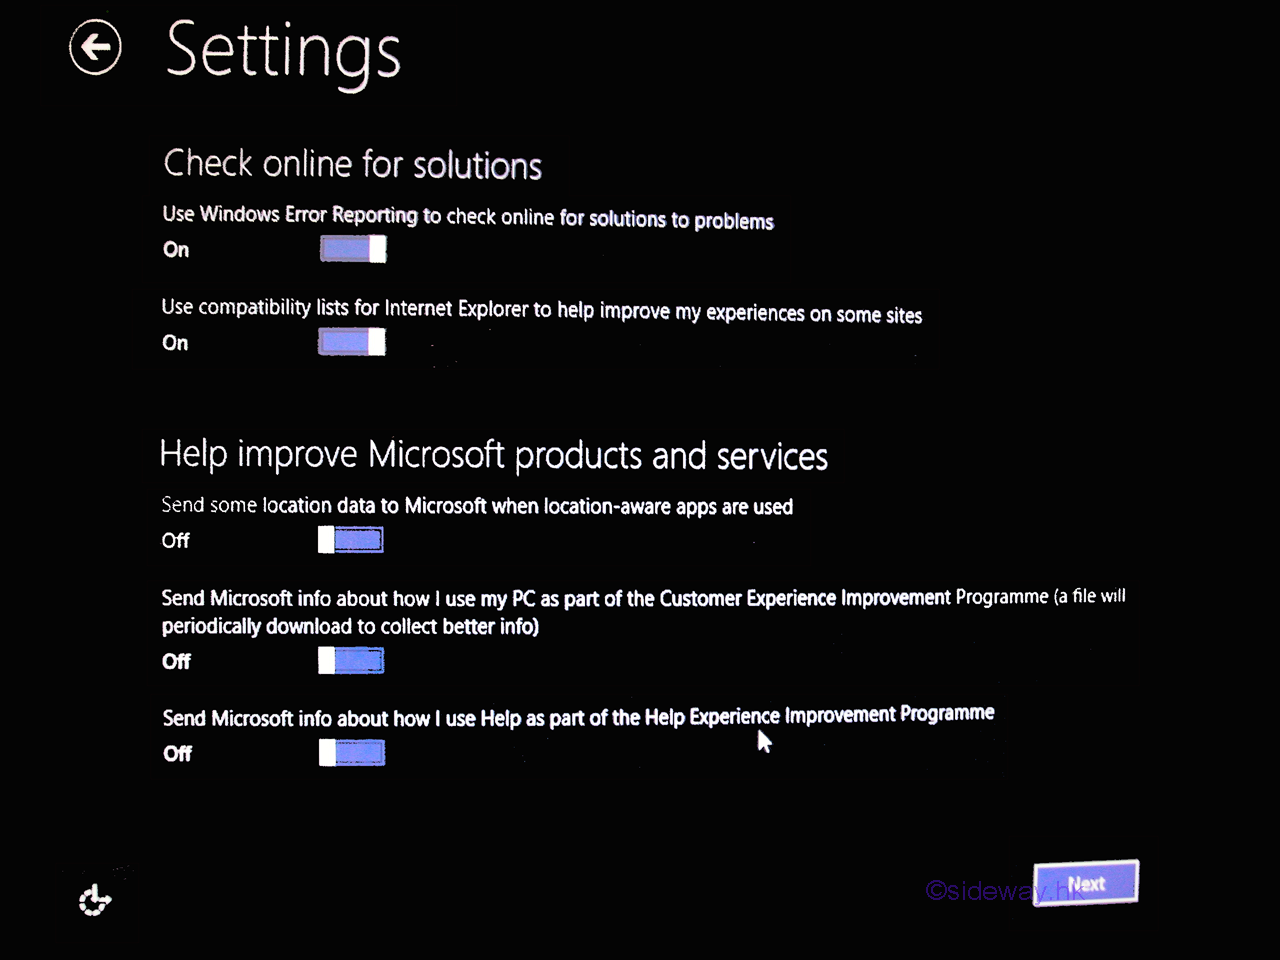
The second page of Windows 8.1 basic settings. After setting, click "Next" button to continue to the third page.
-
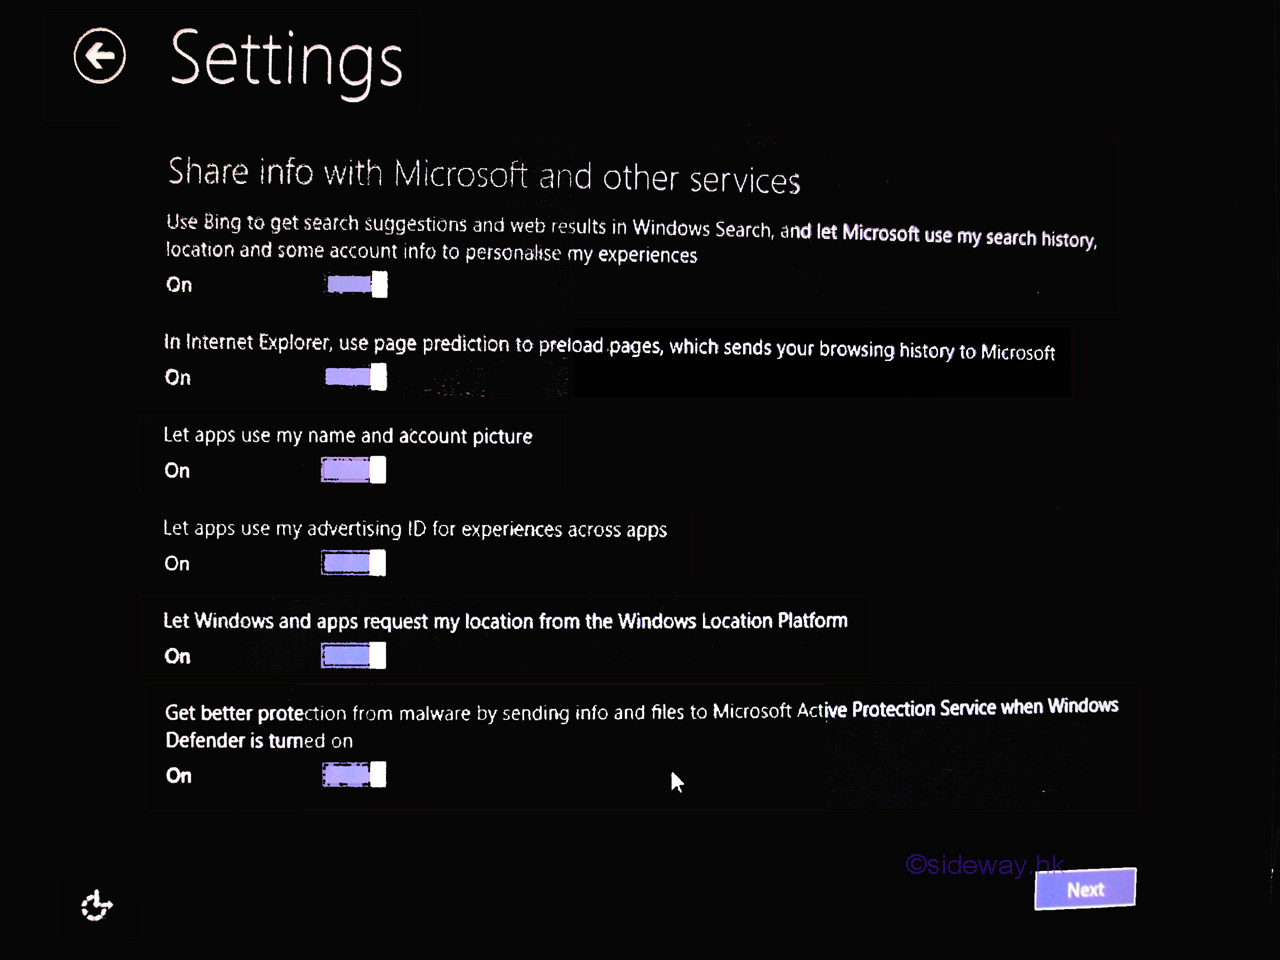
The third and last page of Windows 8.1 basic settings. After setting, click "Next" button to continue to the last preference.
-
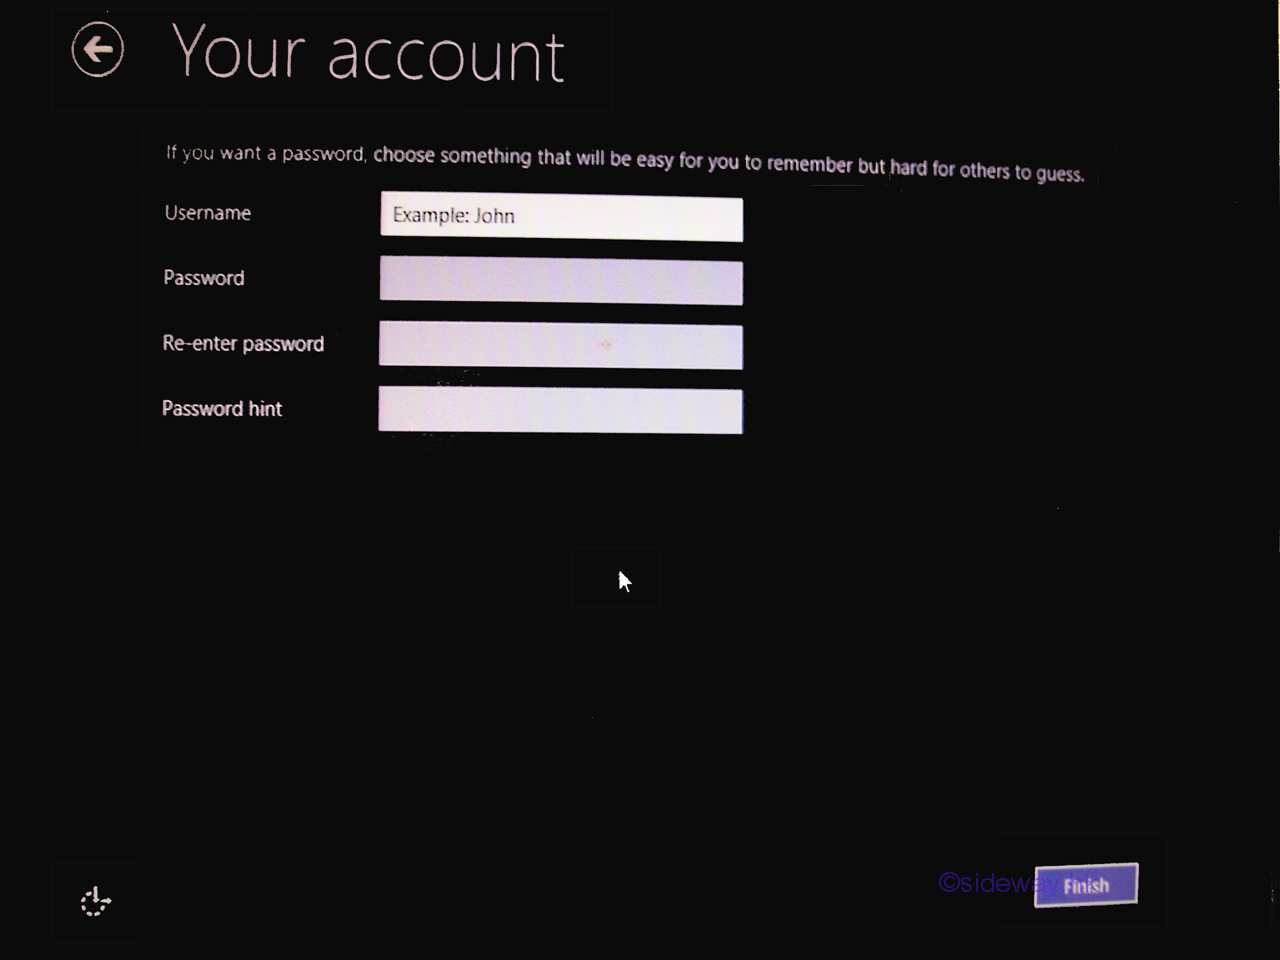
The last preference, sign in, customizes the sign in account of Windows 8.1.
For new version of Windows 8.1, there are two options, "Sign in with a Microsoft account", or "Sign in without a Microsoft account"
Using "Sign in without a Microsoft account", and enter username and password accordingly.
Click the "Finish" button to completer the preferences setting
-
The Windows 8.1 continues to setup every preference setting automatically
-
After updates the preference, the Windows 8.1 continues to display a series of screens while starting the Windows 8.1.
The series of displayed screens are depending on the version of Thw windows 8.1 installed.
-
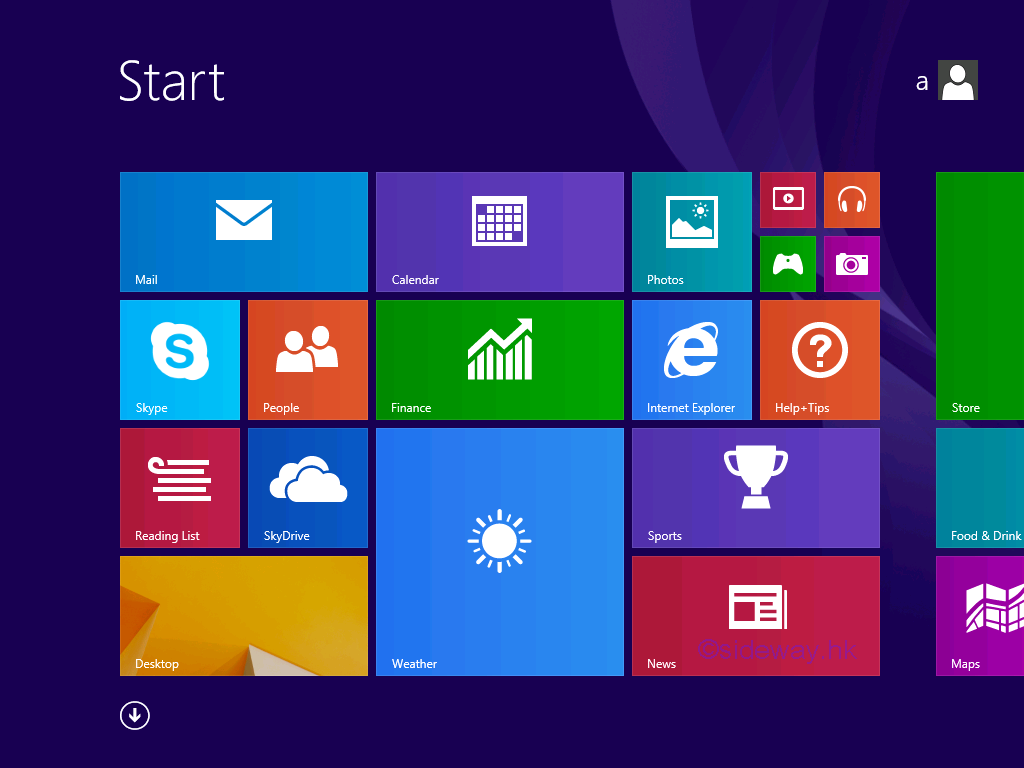
Finally, the Windows 8.1 displays the Windows 8.1 Start screen to indicate the completion of Windows 8.1 installation
and the starting of Windows 8.1 begins. Windows 8.1 can now be used as a normal user sign in created in preference setting.


 Nu Html Checker
  na
na